
Have you ever spotted a craft on Pinterest and thought, Oh my goodness, I need to make that—only to discover there’s no tutorial anywhere to be found? That’s exactly what happened with these adorable felt ghosts. I kept seeing a photo of the cutest little ghosts in my Pinterest feed, but every time I tried to find instructions, I came up empty-handed.
Eventually, I decided I was going to figure them out myself… not that it would be all that difficult. And if I was making them anyway, I figured I might as well share these cuties with you too, right?
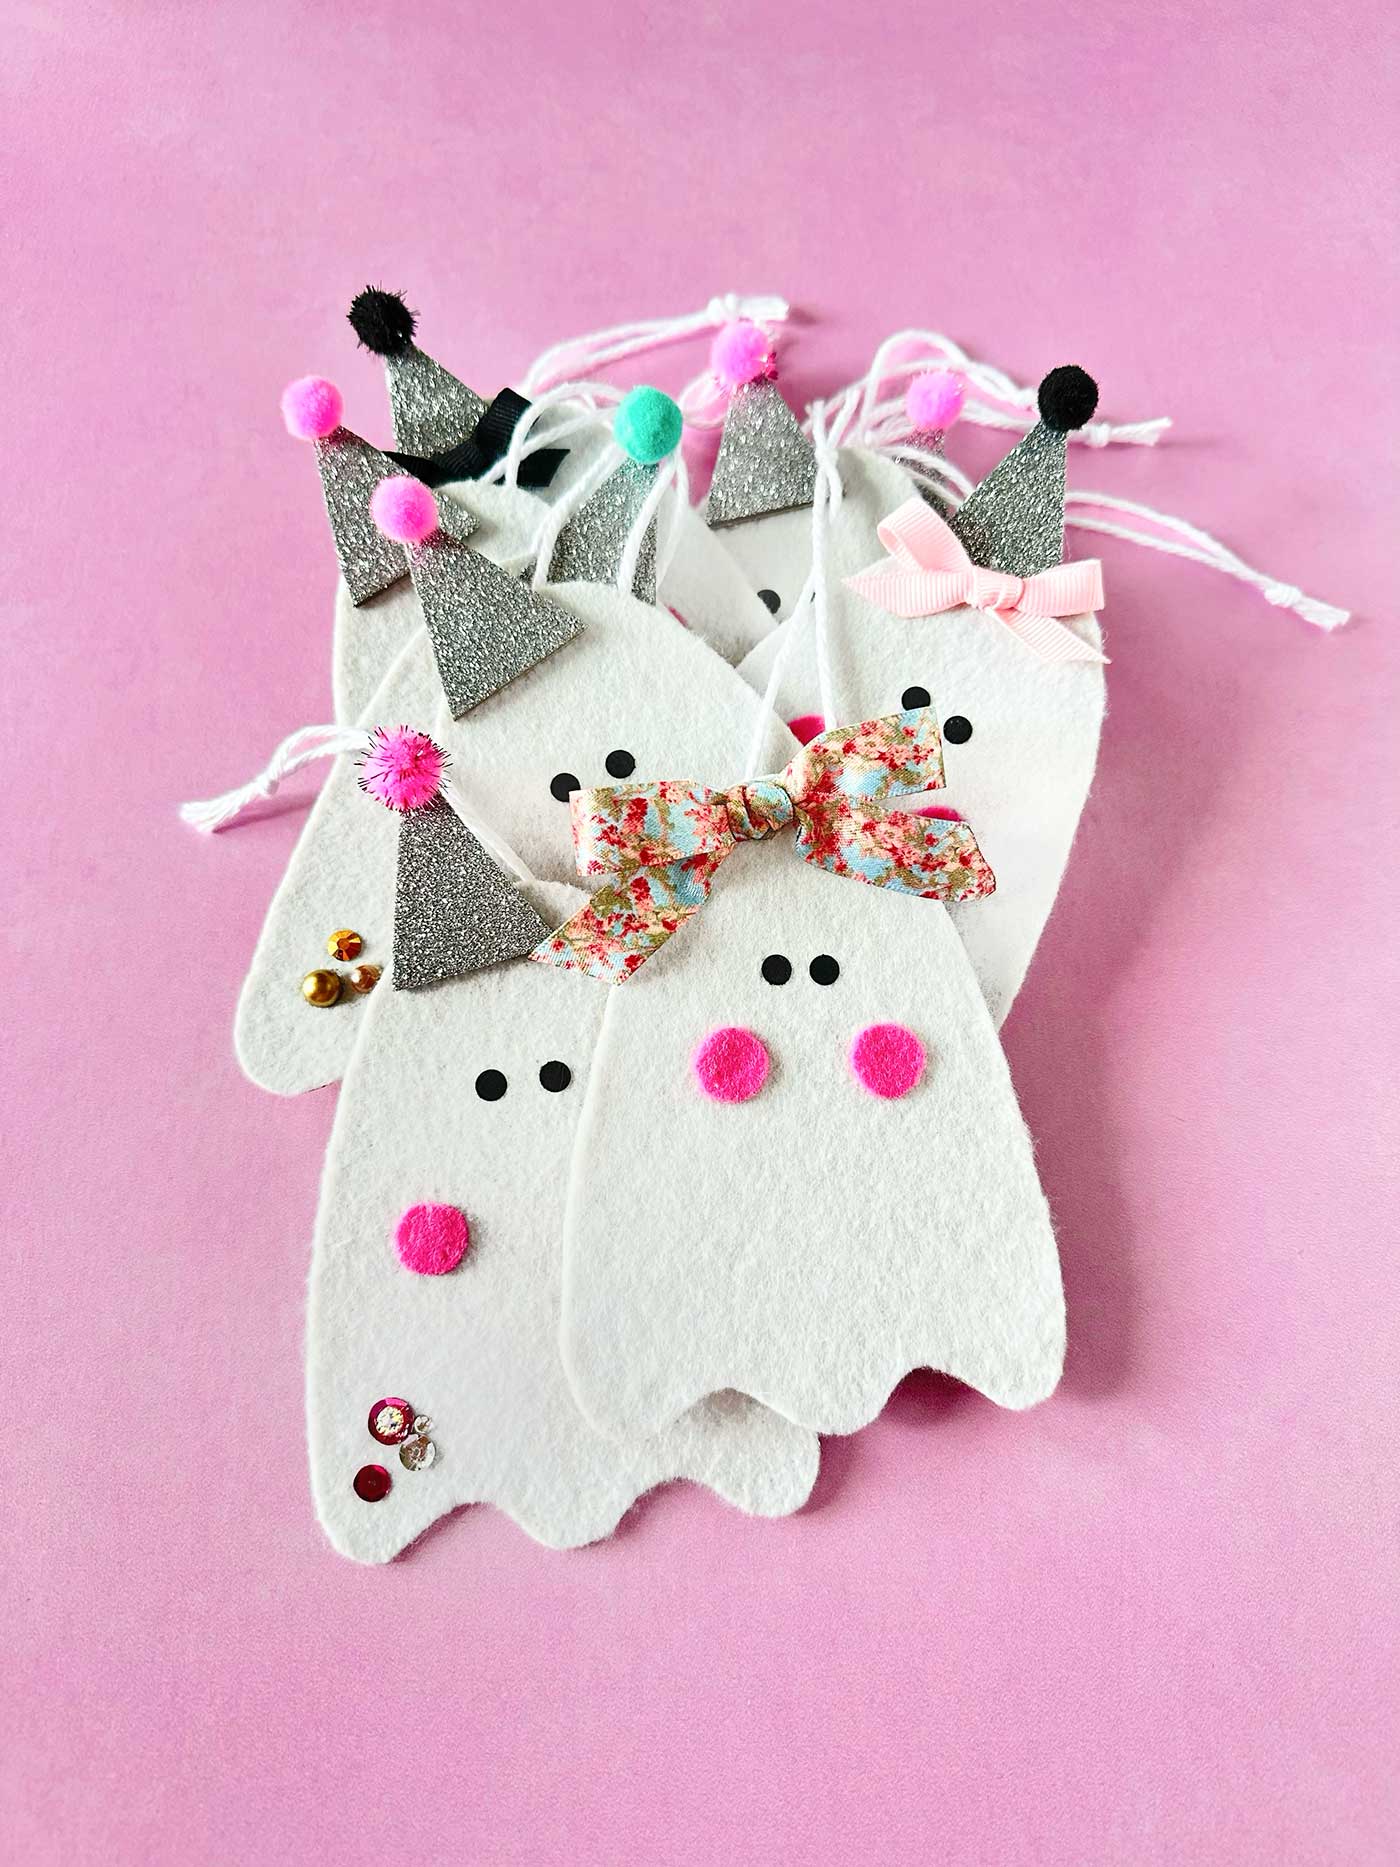
These sweet little ghosts are simple, inexpensive, and easy to customize with whatever craft supplies you already have tucked away.
Plus, they’re just plain cute.
And you know I’m always here for a Halloween craft that leans a little more charming than creepy.
Why You’ll Love These DIY Felt Ghosts
One of my favorite things about this felt ghost craft is that there really isn’t one right way to make them.
You can change the shape of your ghosts, make their hats bigger or smaller, add different embellishments, or even give each little ghost its own personality.
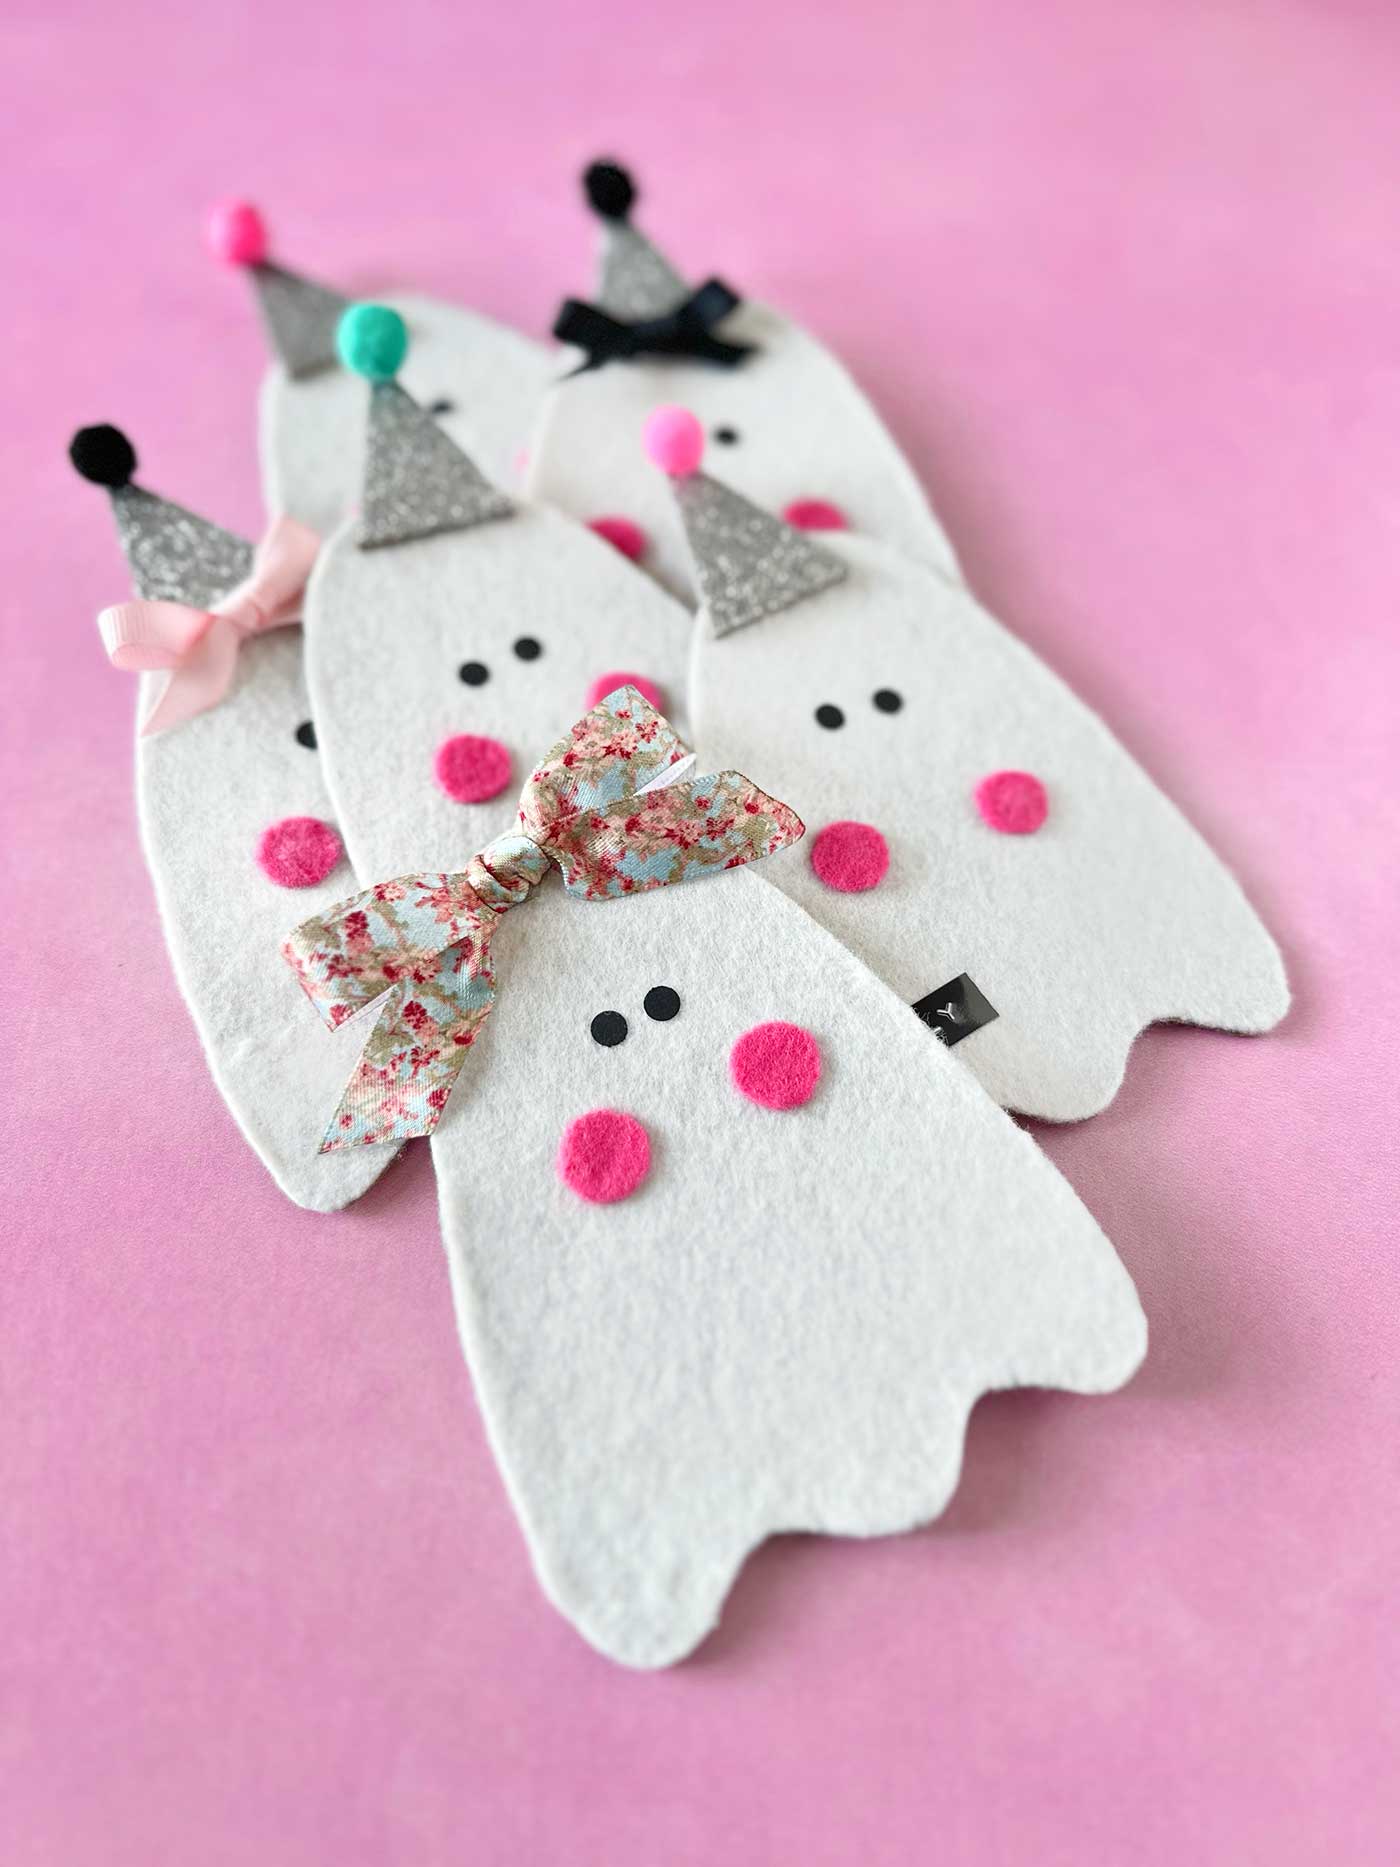
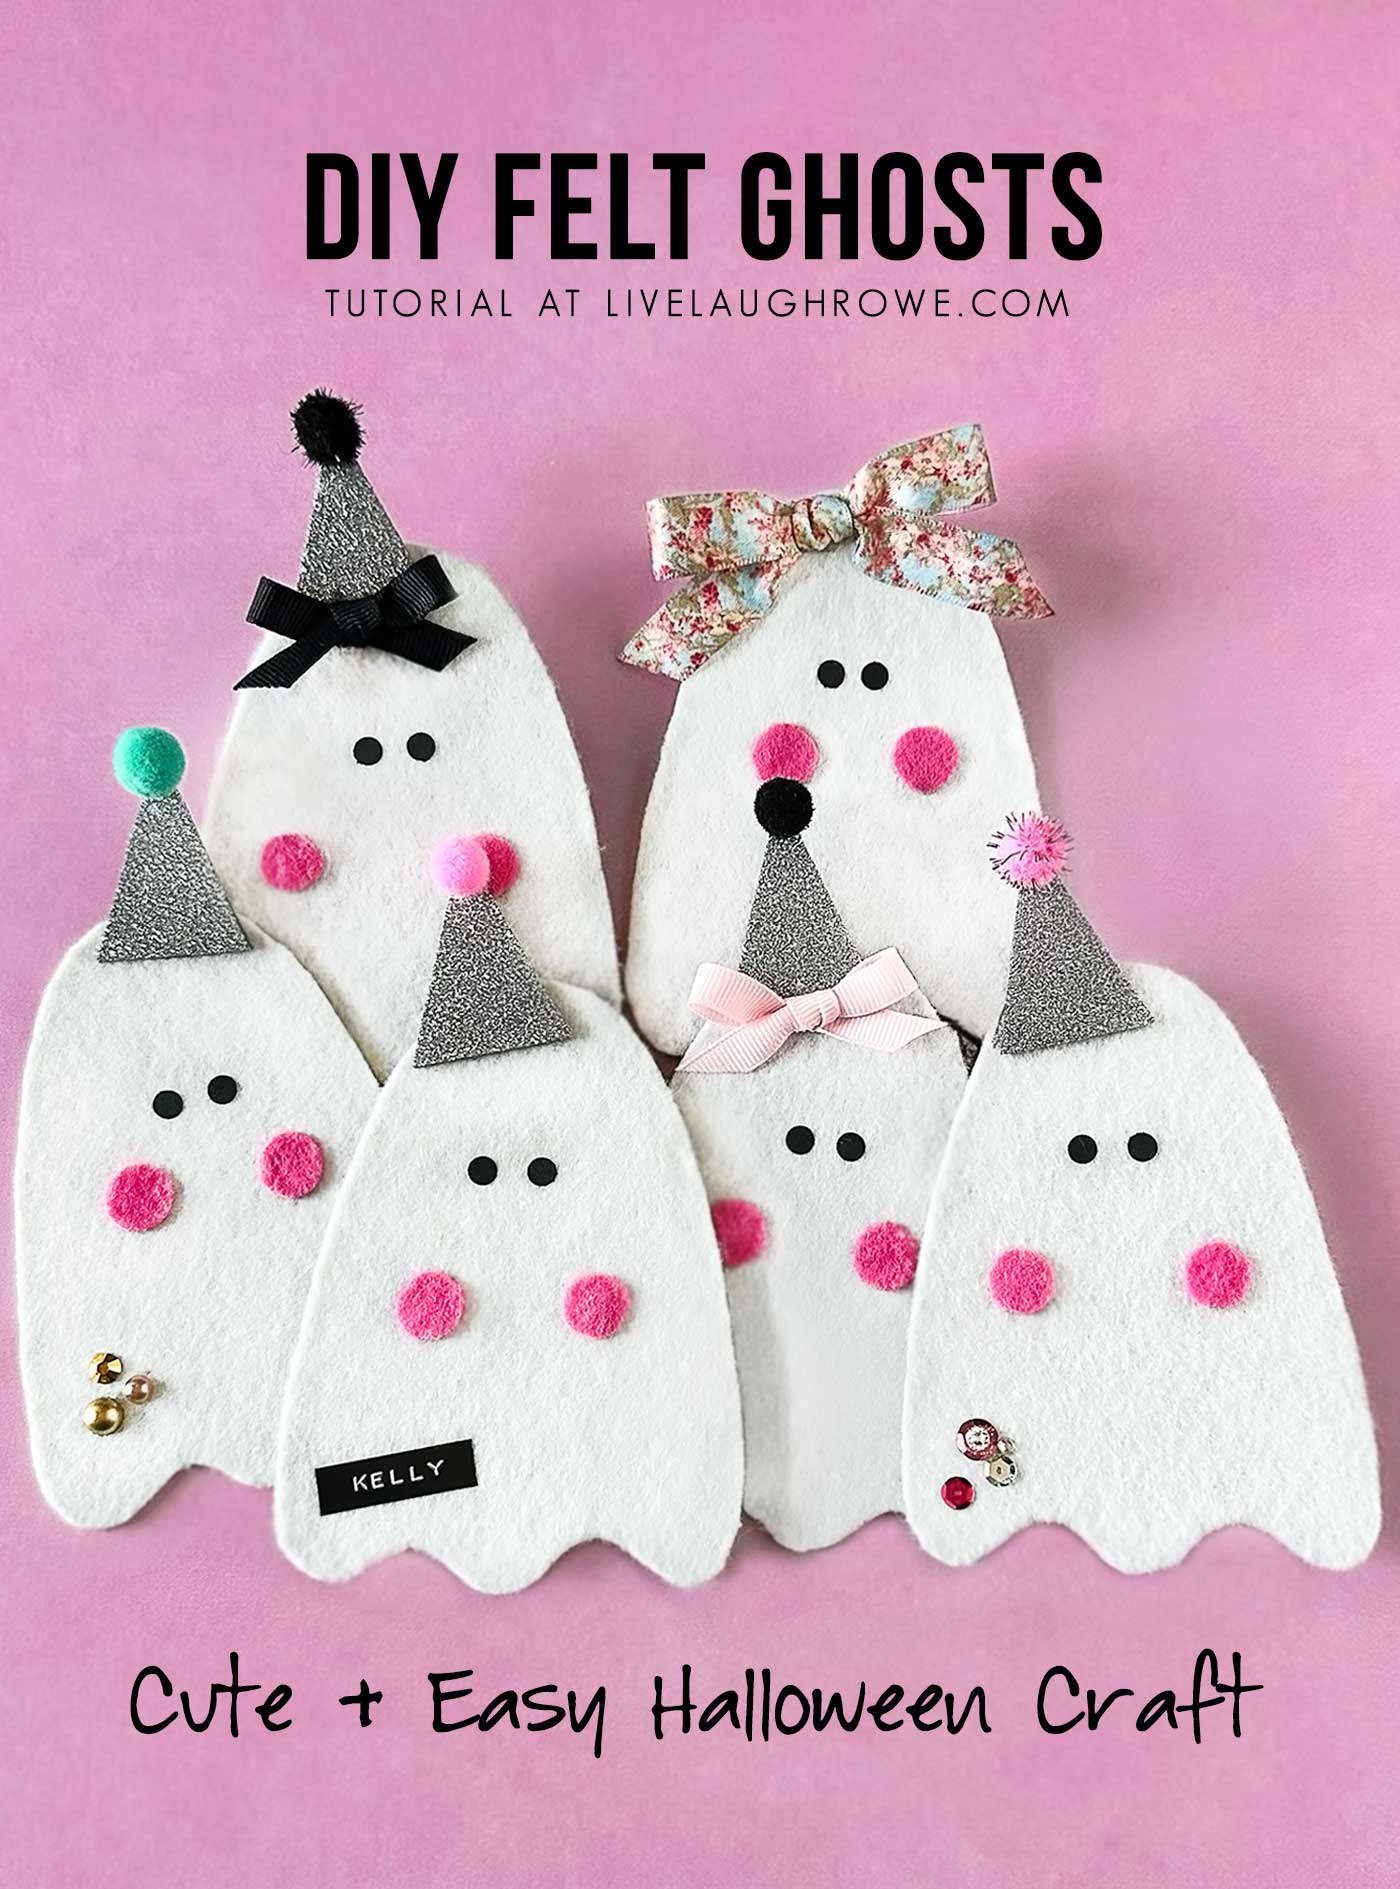
I added rosy pink cheeks, sparkly hats, pom-poms, and a few additional fun embellishments. I even pulled out my handy-dandy label maker and personalized one.
Because why not?
These DIY felt ghosts would be adorable hanging from a Halloween tree, displayed on a garland, added to a gift, or tucked into a seasonal vignette.
And if you don’t want to hang them at all, you could easily turn them into magnets or use them as flat decorations.
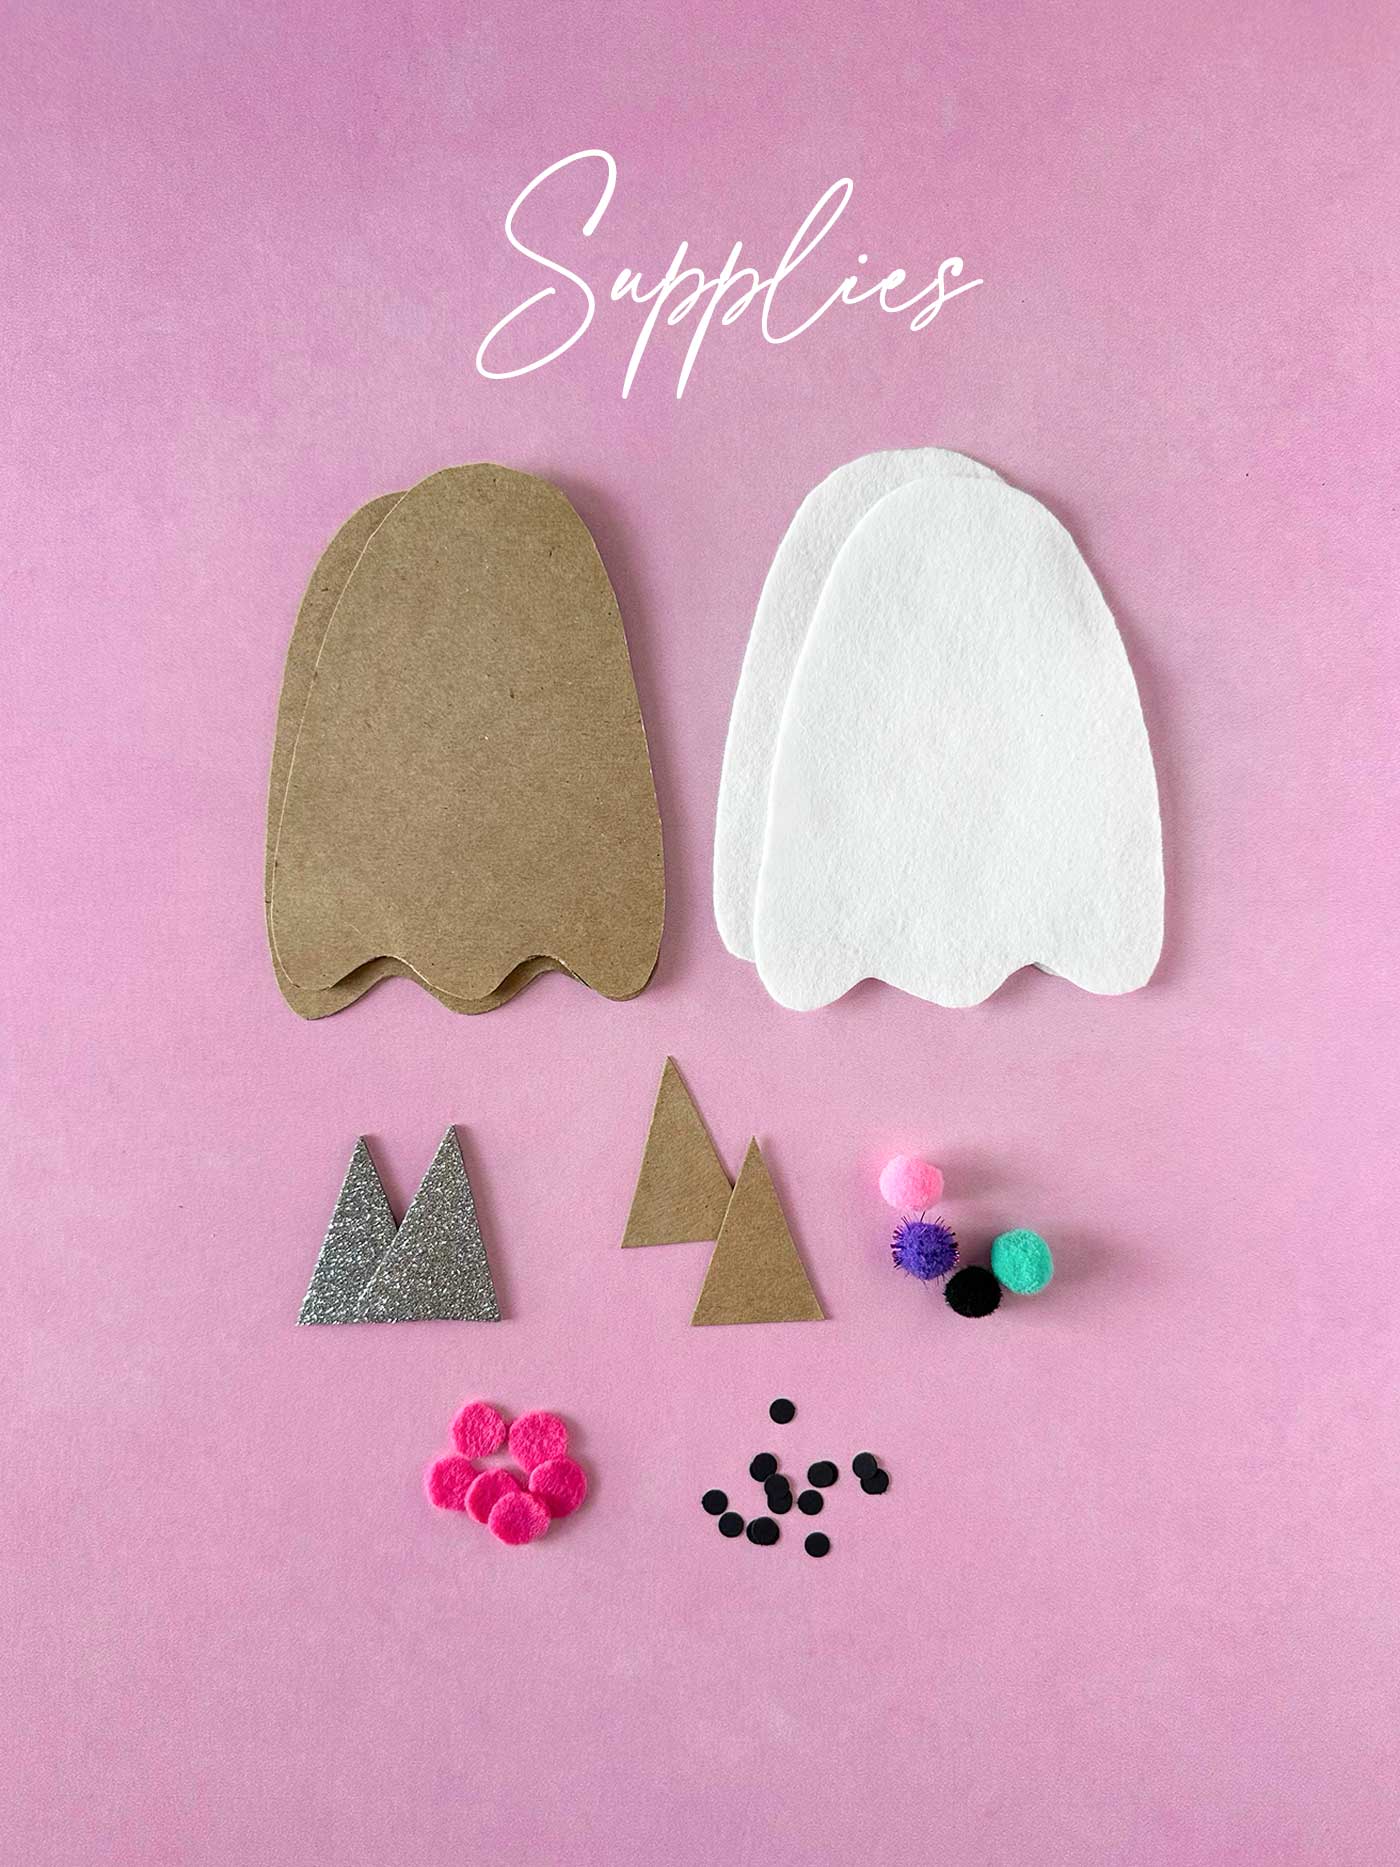
Supplies for This Felt Ghost Craft
You don’t need anything particularly fancy to make these little ghosts. In fact, you may already have quite a few of these supplies in your craft stash.
You’ll need:
- Paper for creating the templates
- Cardboard or chipboard for the ghost base and hat backing
- White felt
- Pink felt
- Black paper for the eyes
- Glitter or metallic foam sheet for the hats
- Craft Glue
- Glue Gun
- Scissors
- Hole punch
- Pen or pencil for tracing
- String, yarn or ribbon for hanging (I used this yarn)
- Small pom-poms
- Optional embellishments such as sequins, stars, hearts, gems, or labels
For the hats, I used a glittery metallic foam sheet. Mine was flexible, so I added chipboard behind it to give the hat a little more structure.
If you can’t find glitter foam, no worries. You could use felt, cardstock, scrapbook paper, or another material and add glitter yourself.
This is definitely one of those projects where you can improvise.
How to Make Felt Ghosts
Once you gather your supplies, these Halloween felt ghosts come together pretty easily.
Step 1: Create Your Ghost Template
Start by drawing a ghost shape on a piece of paper, construction paper, or cardstock.
Don’t worry about making it perfect.
In fact, I think a little imperfection makes handmade projects even cuter.
Once you’re happy with the shape, cut it out. This will be the template you use for the rest of the project.
Step 2: Make the Ghost Base
Trace your paper template onto something sturdier, such as cardboard or chipboard.
Cut out the shape.
This firm layer will become the base of your ghost and help keep the felt from flopping around once everything is assembled.
If you’re making several ghosts, simply use the same template to trace as many bases as you need.
Step 3: Cut the White Felt
Using the same ghost template, trace the shape onto white felt and cut it out.
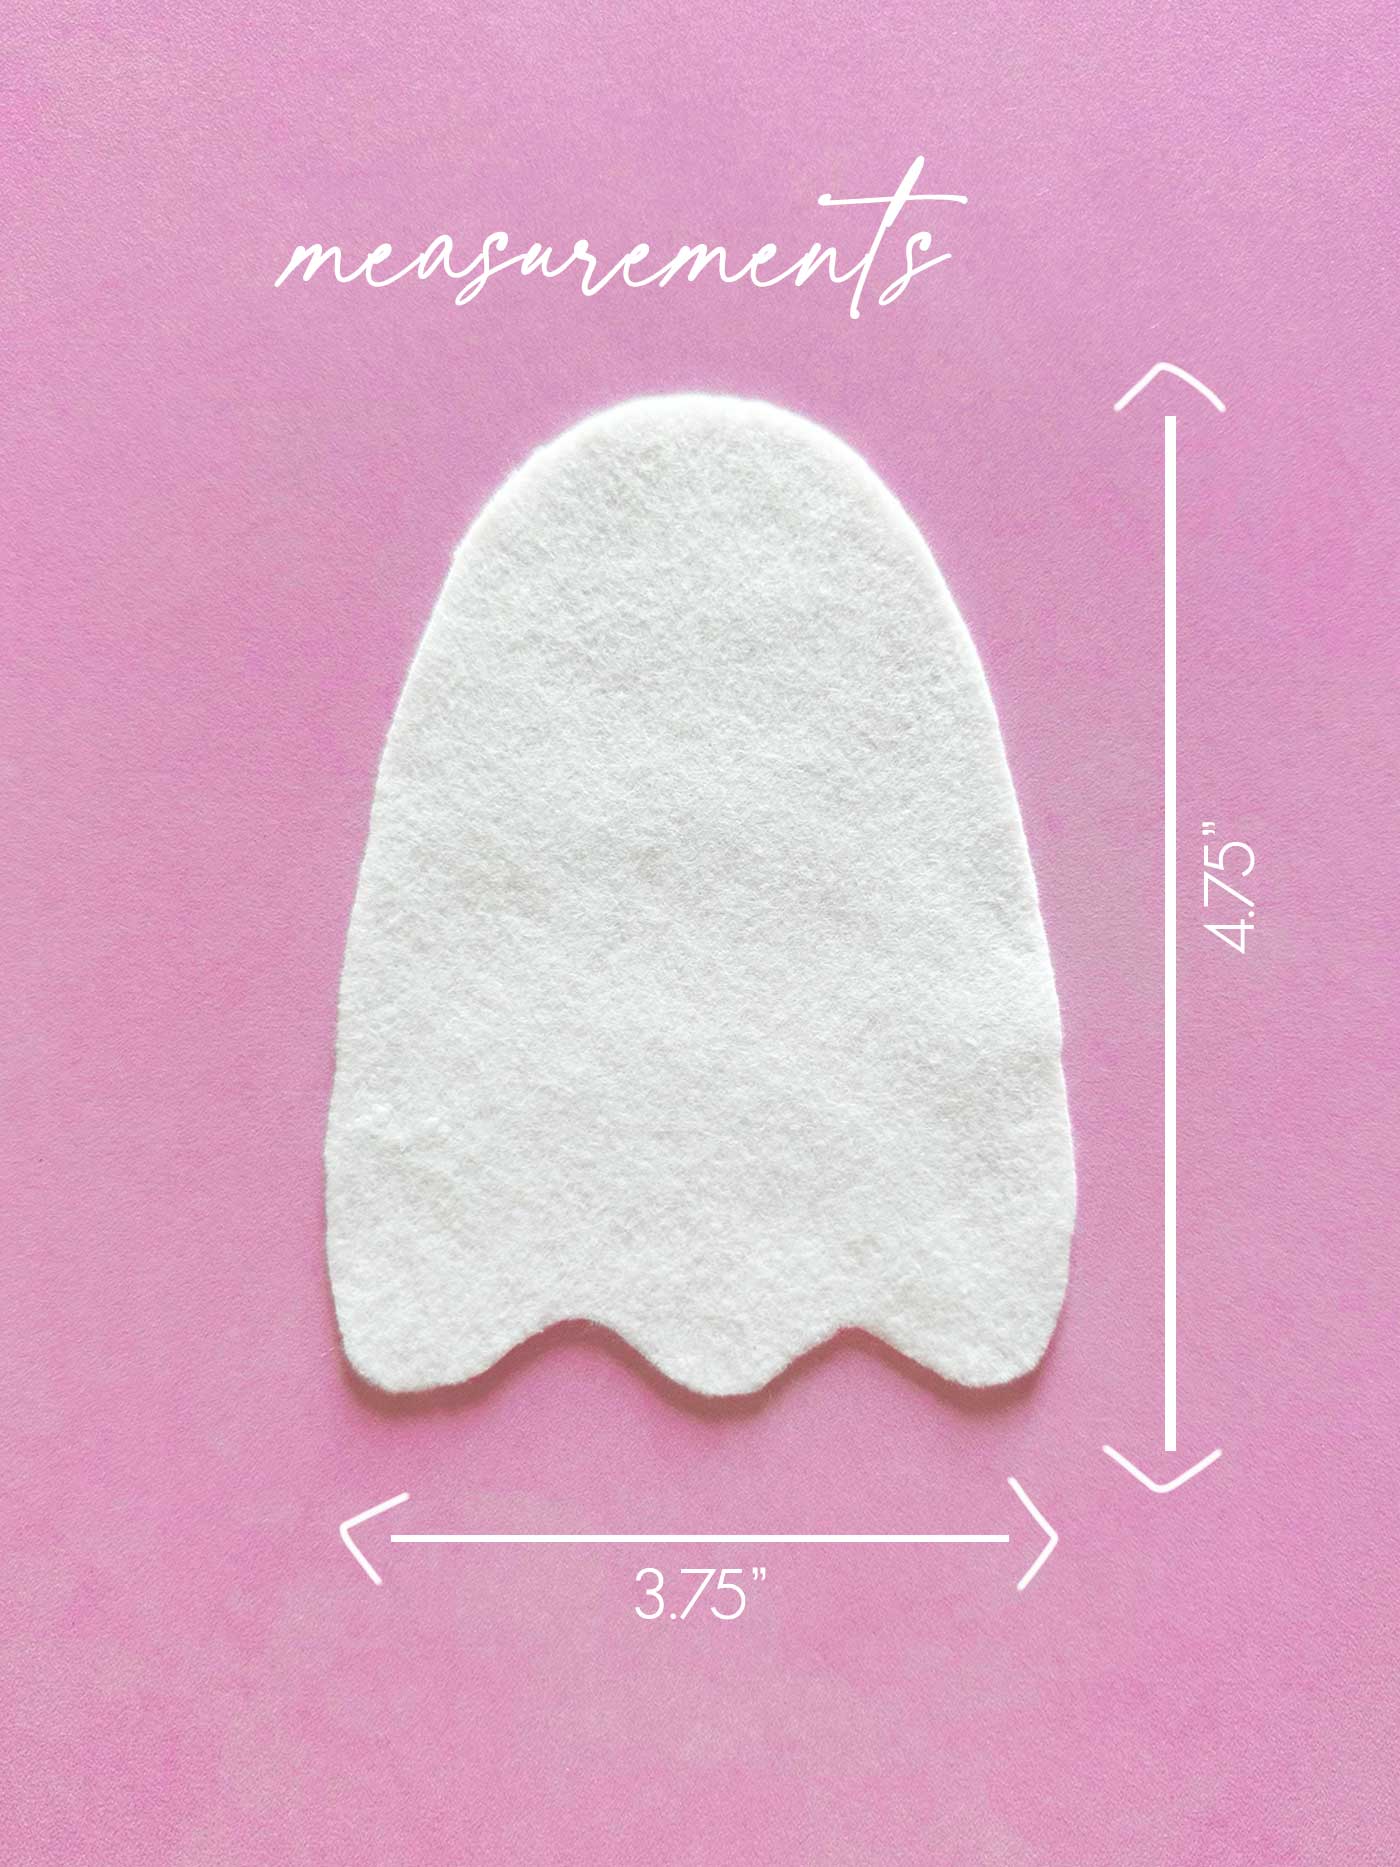
The felt will eventually be glued onto the sturdy base you created in the previous step.
Take your time around the curved edges and bottom of the ghost. Sharp scissors will make this part much easier.
Step 4: Create the Hat
Next, create a small hat template using paper.
Once you’re happy with the size and shape, trace it onto chipboard or cardboard to create the sturdy backing.
For the decorative front of my hats, I used a silver metallic foam sticker sheet (from Micheal’s).
Because the foam was somewhat flimsy, the chipboard underneath helped keep the hat from bending or sagging.
Attach the glitter foam onto the backing and trim away any excess if necessary.
Step 5: Make the Ghost’s Face
Now it’s time to give your ghost a little personality.
Using a hole punch, punch small circles from black paper for the eyes.
Then cut two circles from pink felt to create rosy cheeks.
Before gluing anything down, arrange the pieces on your ghost and move them around until you like the expression.
You’d be surprised how much personality can change just by moving those little eyes!
Step 6: Assemble Your Felt Ghost
Once everything is cut and ready, start assembling your ghost.
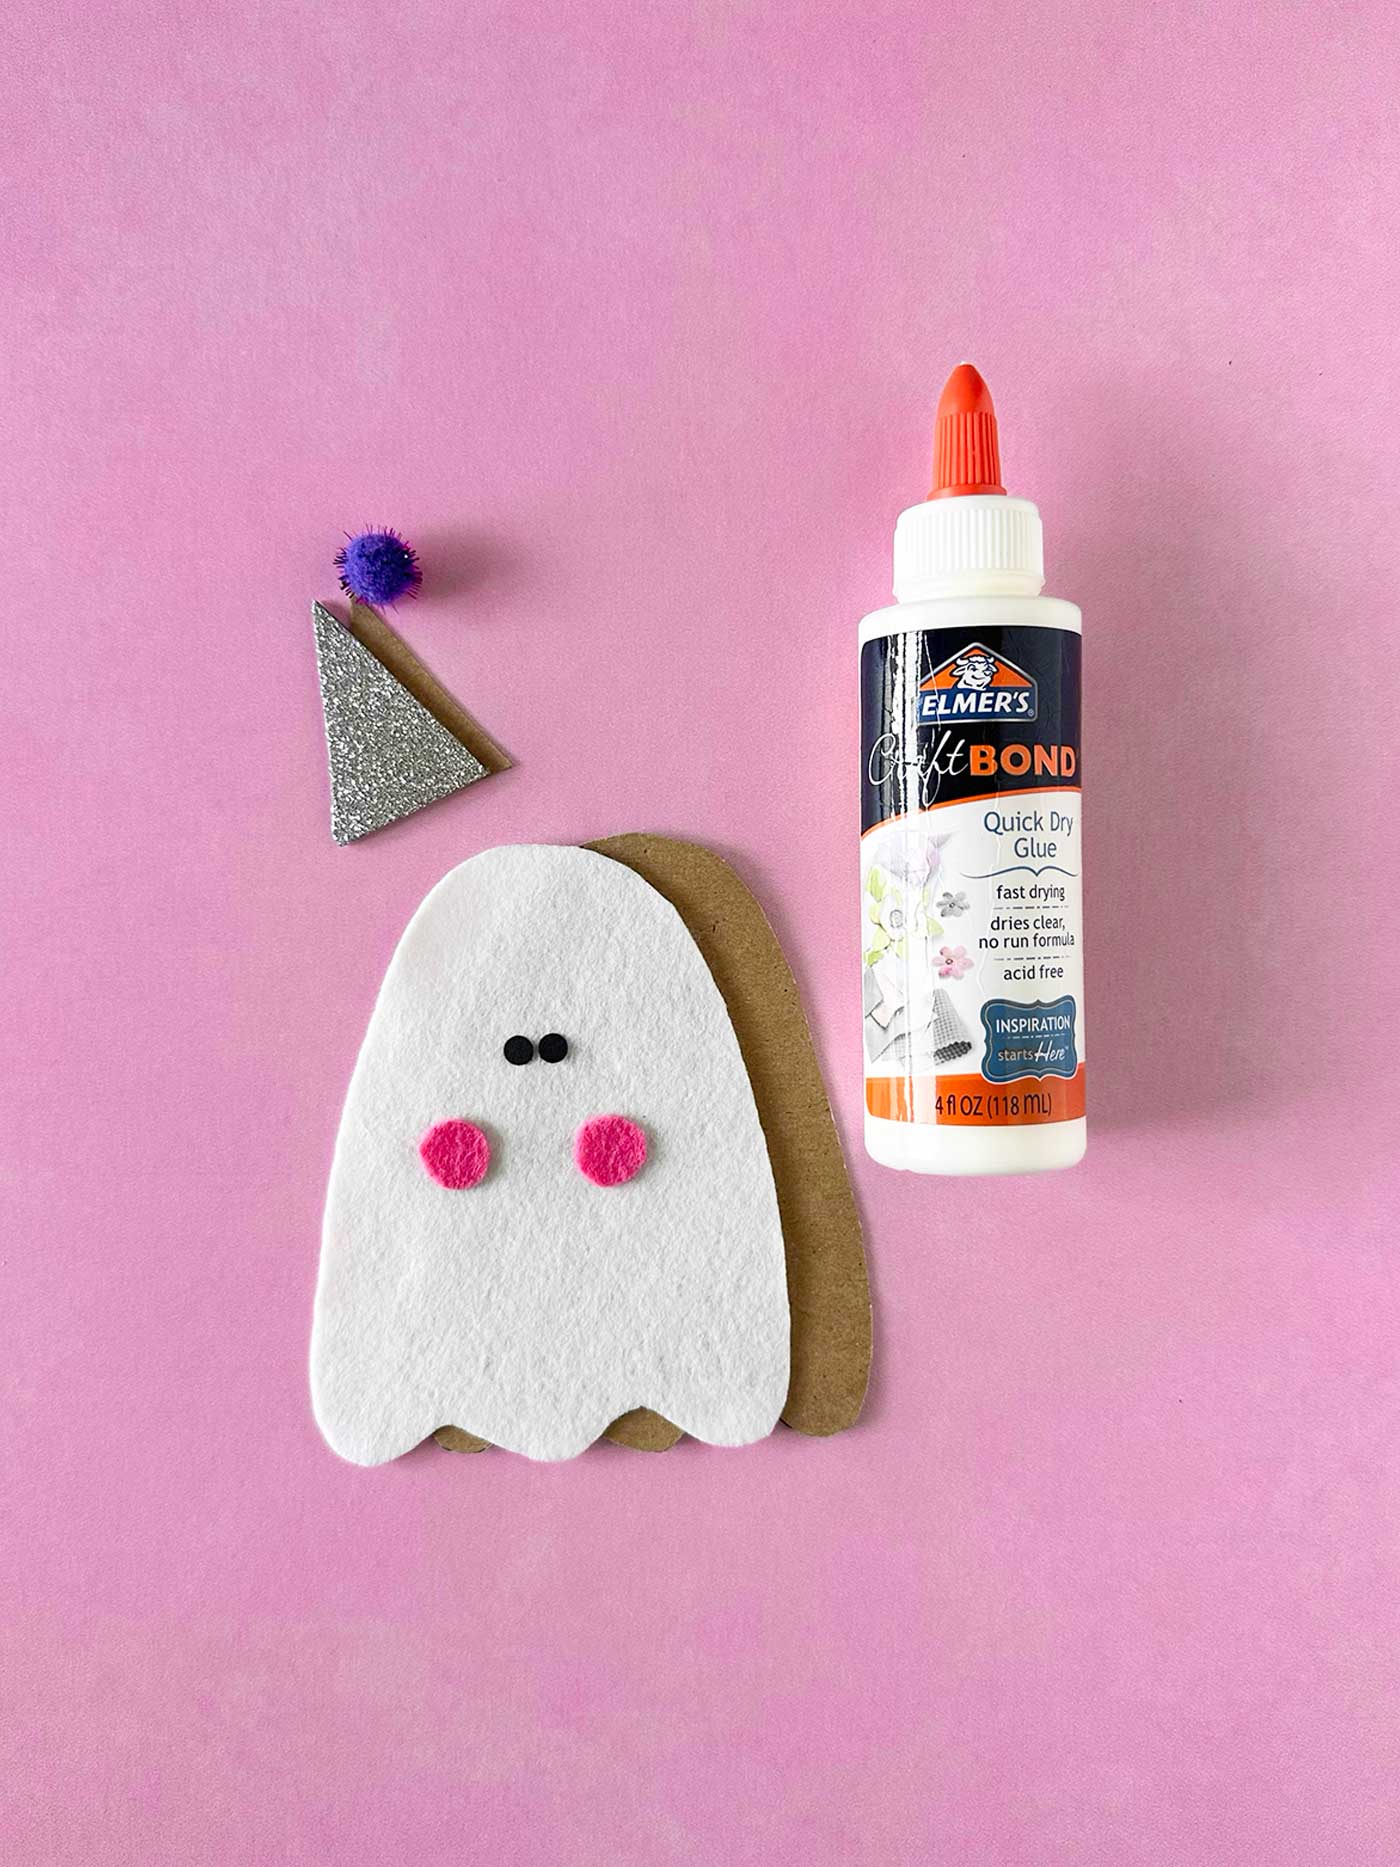
Glue the white felt onto the cardboard or chipboard base.
Next, attach the eyes and pink felt cheeks.
Using a hot glue gun, glue the hat into place near the top of the ghost, and finish it off with a small pom-pom at the top/tip.
Decorating Your Cute Felt Ghosts
Here’s where you can really have some fun.
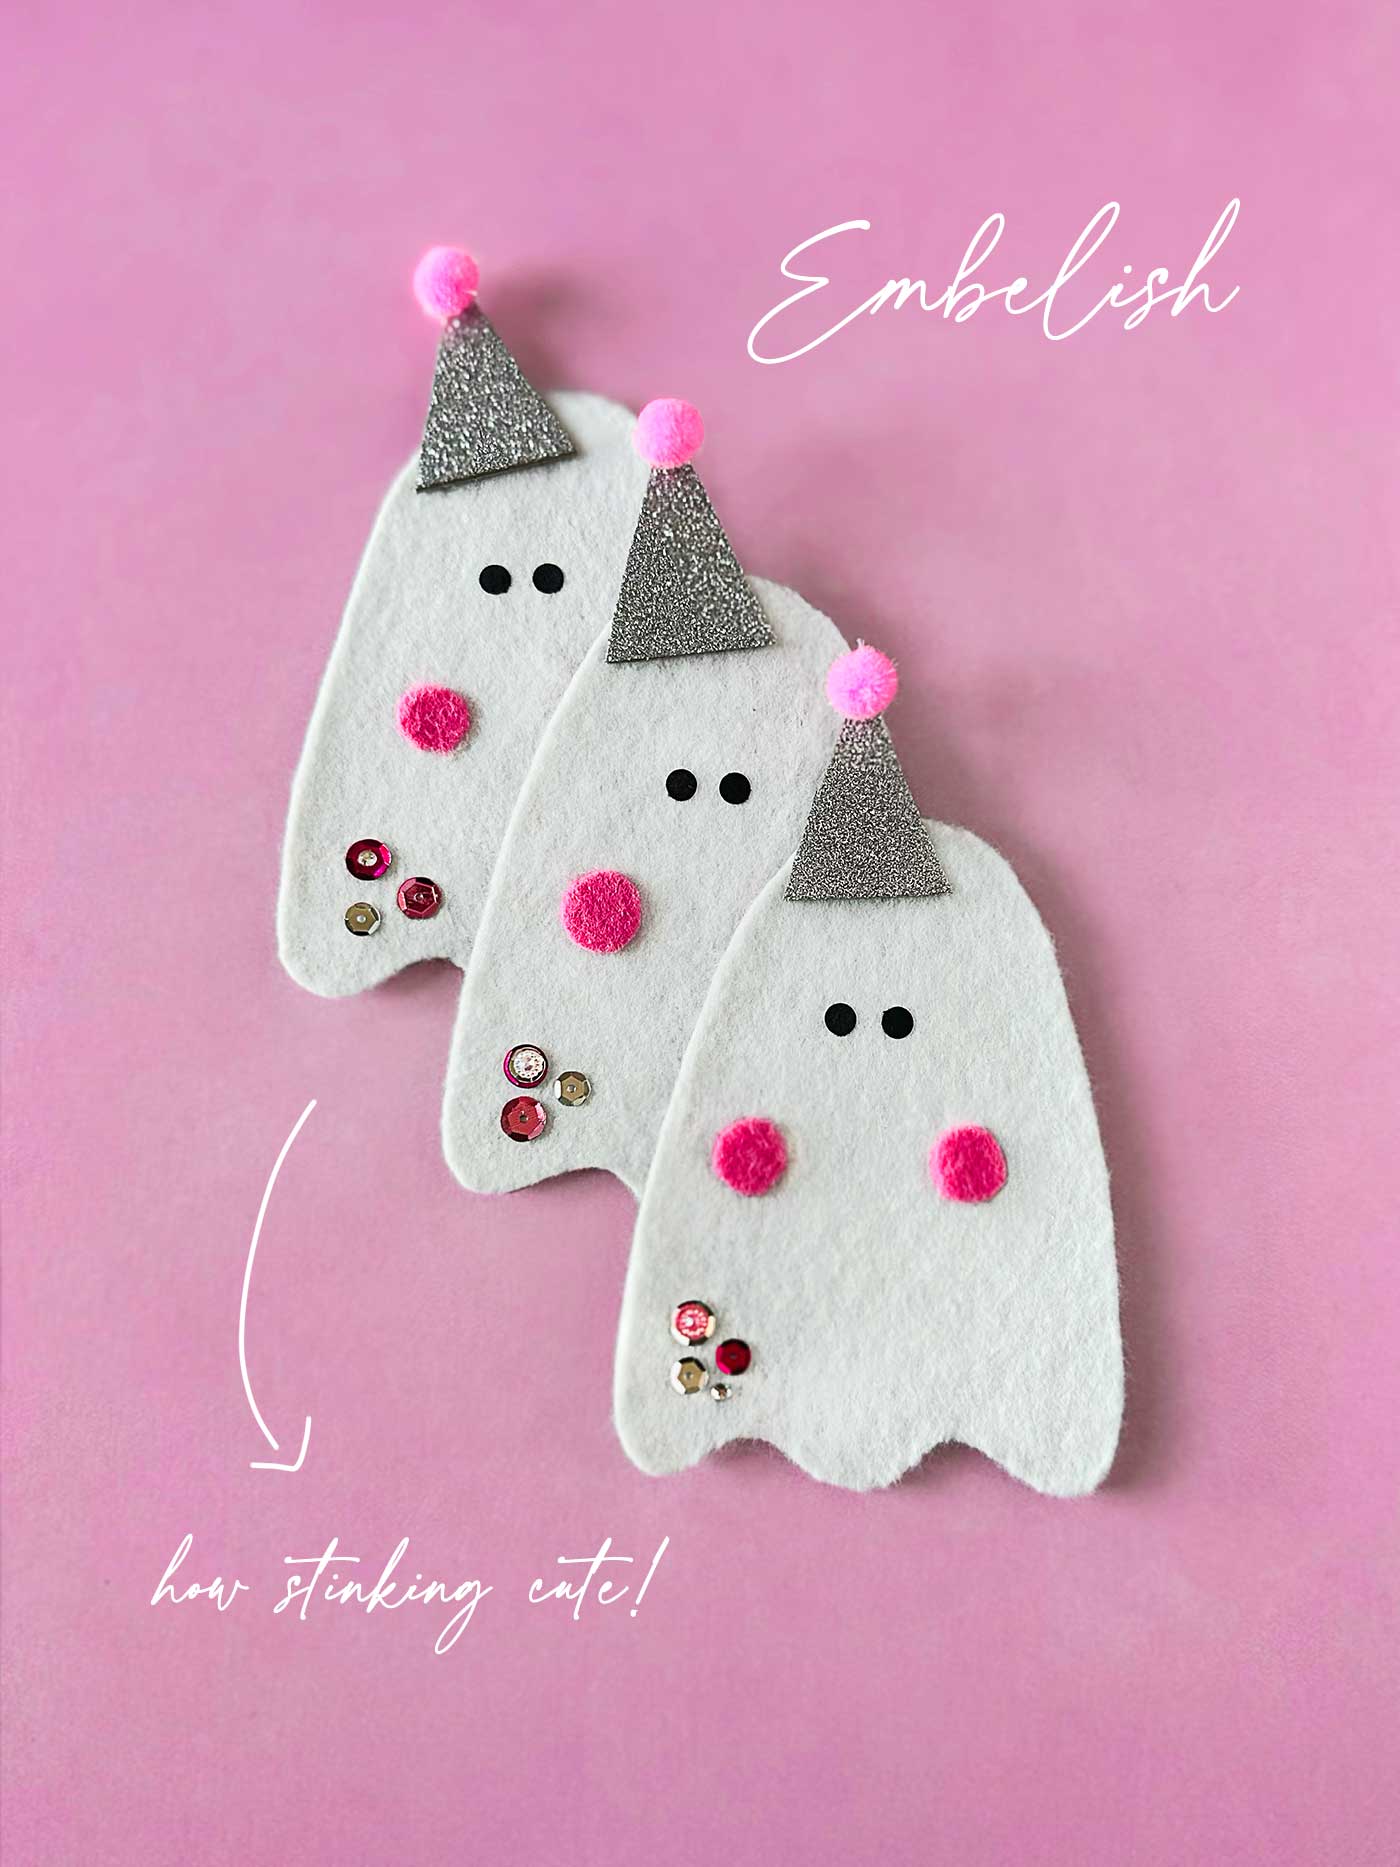
I added little gems, sequins, and other embellishments to give each ghost its own look.
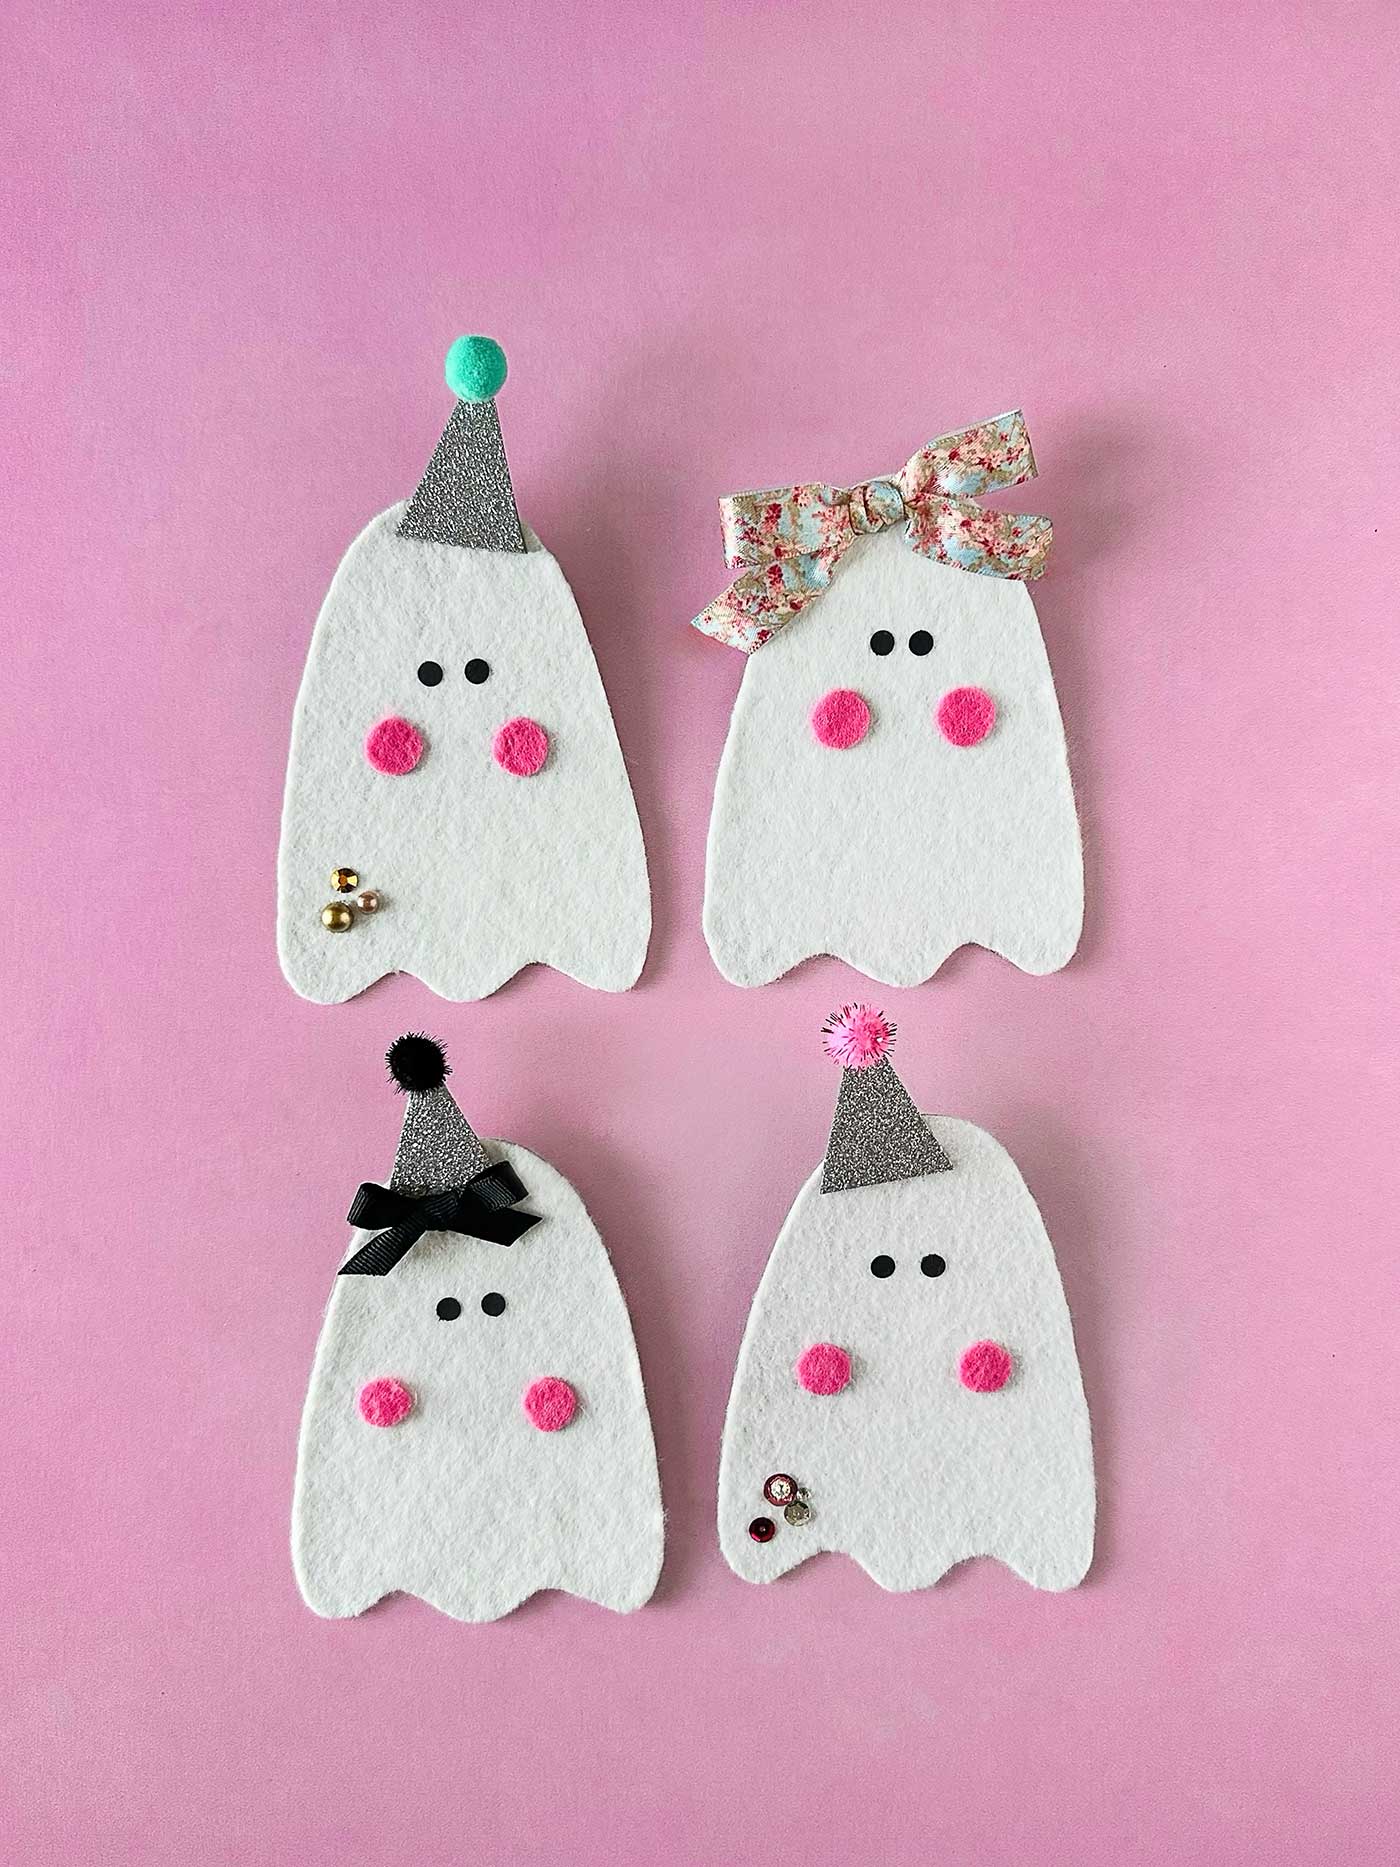
You could decorate the hats, add details directly to the ghost, or keep things very simple. Bows are always adorable, so I added them to a couple.
One of mine even got a personalized label courtesy of my trusty label maker. I love that version, don’t you? Kelly the Friendly Ghost. HA!
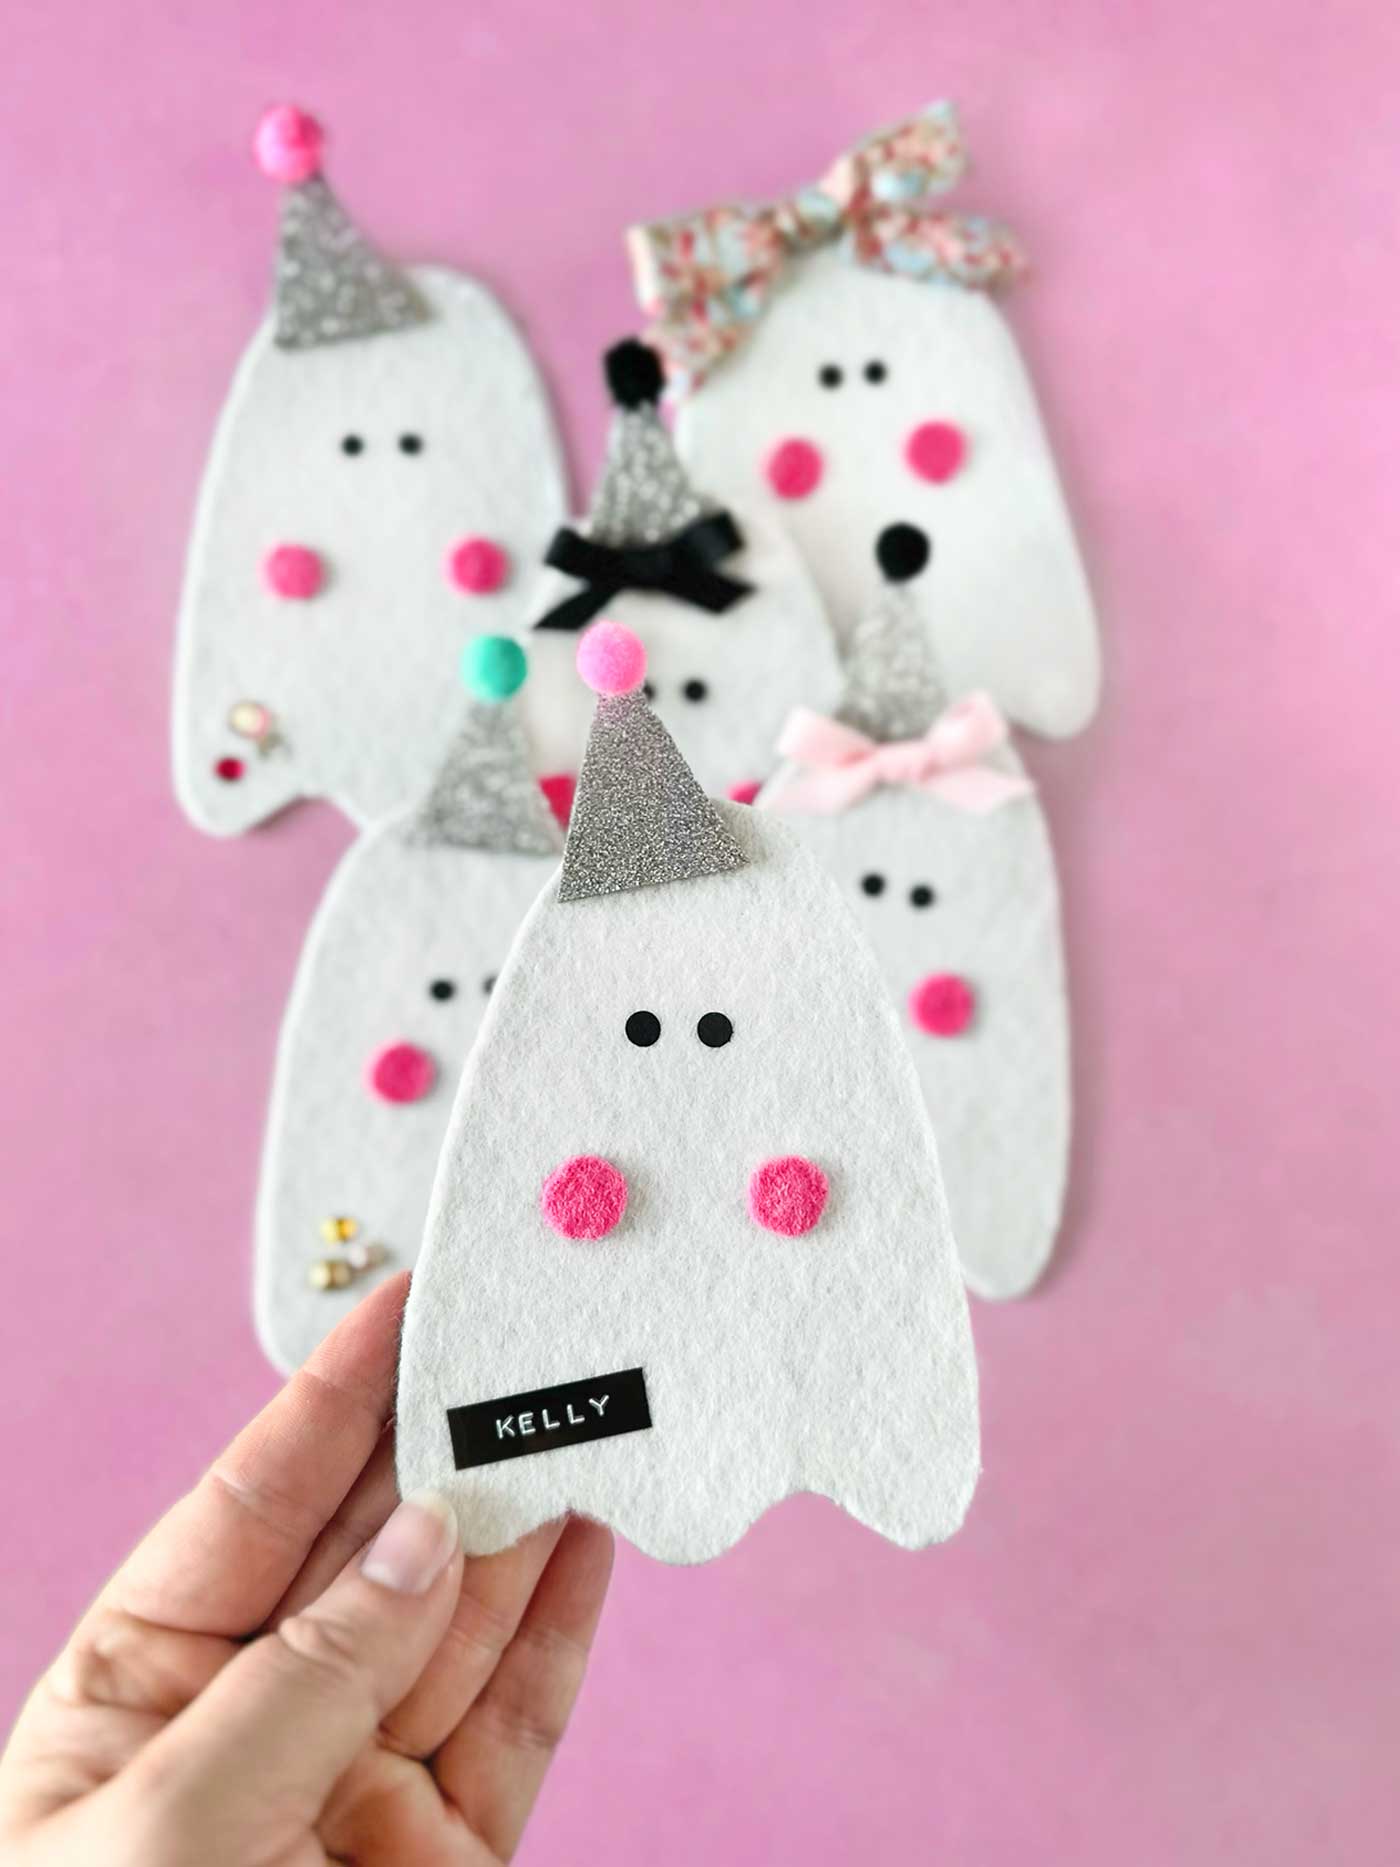
You could also try:
- Different colors of glitter foam
- Polka dots or stripes on the hats
- Tiny bows
- Miniature buttons
- Rhinestones
- Fabric scraps
- Different colored cheeks
- Names or Halloween words
There are so many possibilities.
If you’re making these with kids or grandkids, this would be an especially fun step because everyone could decorate their own ghost differently.
Turn Them Into DIY Ghost Ornaments
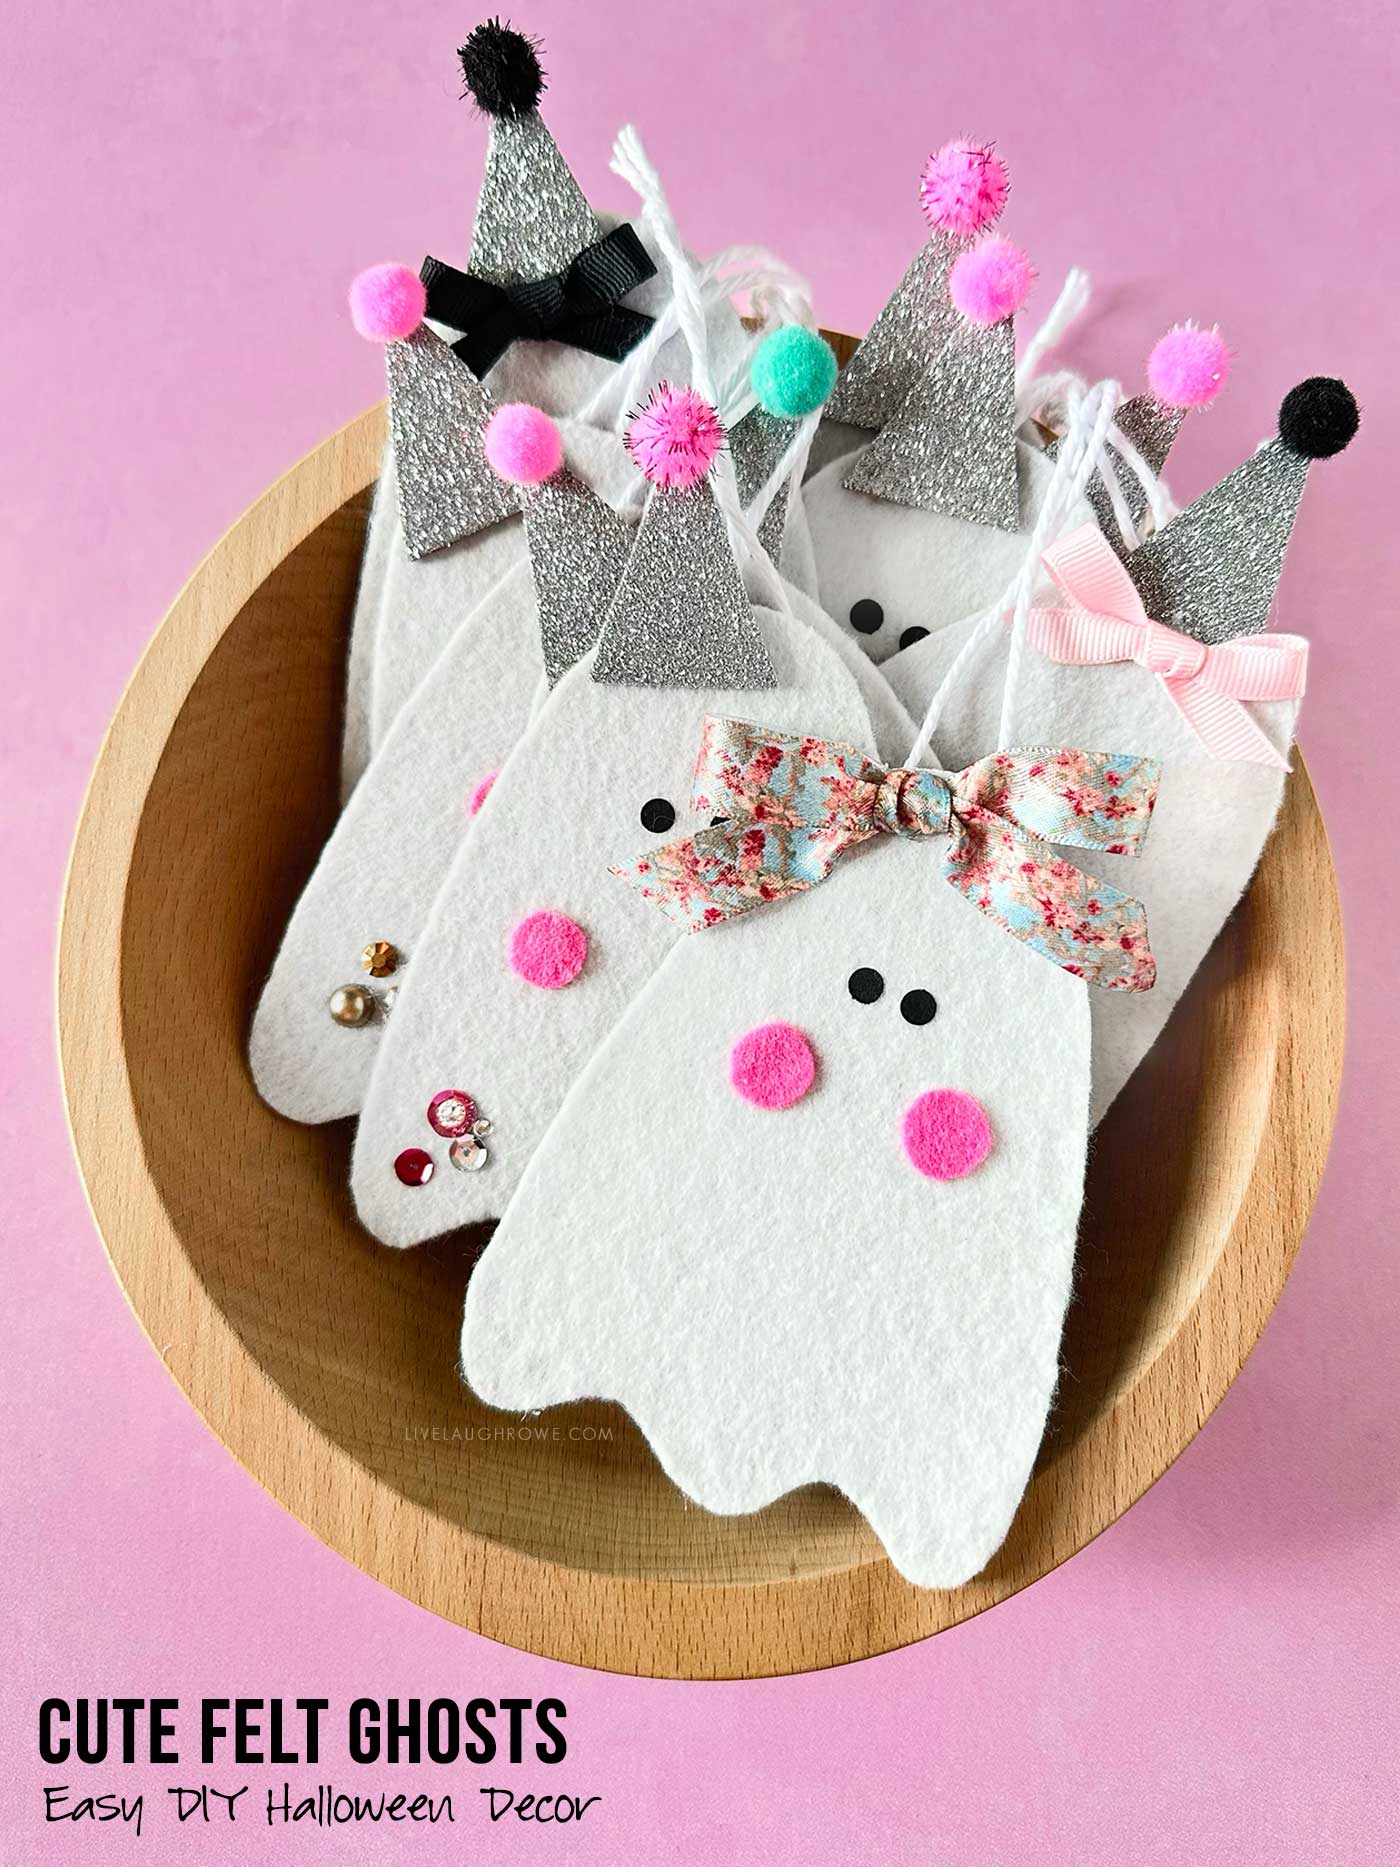
To make DIY ghost ornaments, simply add a string or ribbon to the back.
I taped my string to the back of the ghost for hanging, but you can use whatever method works best for your materials.
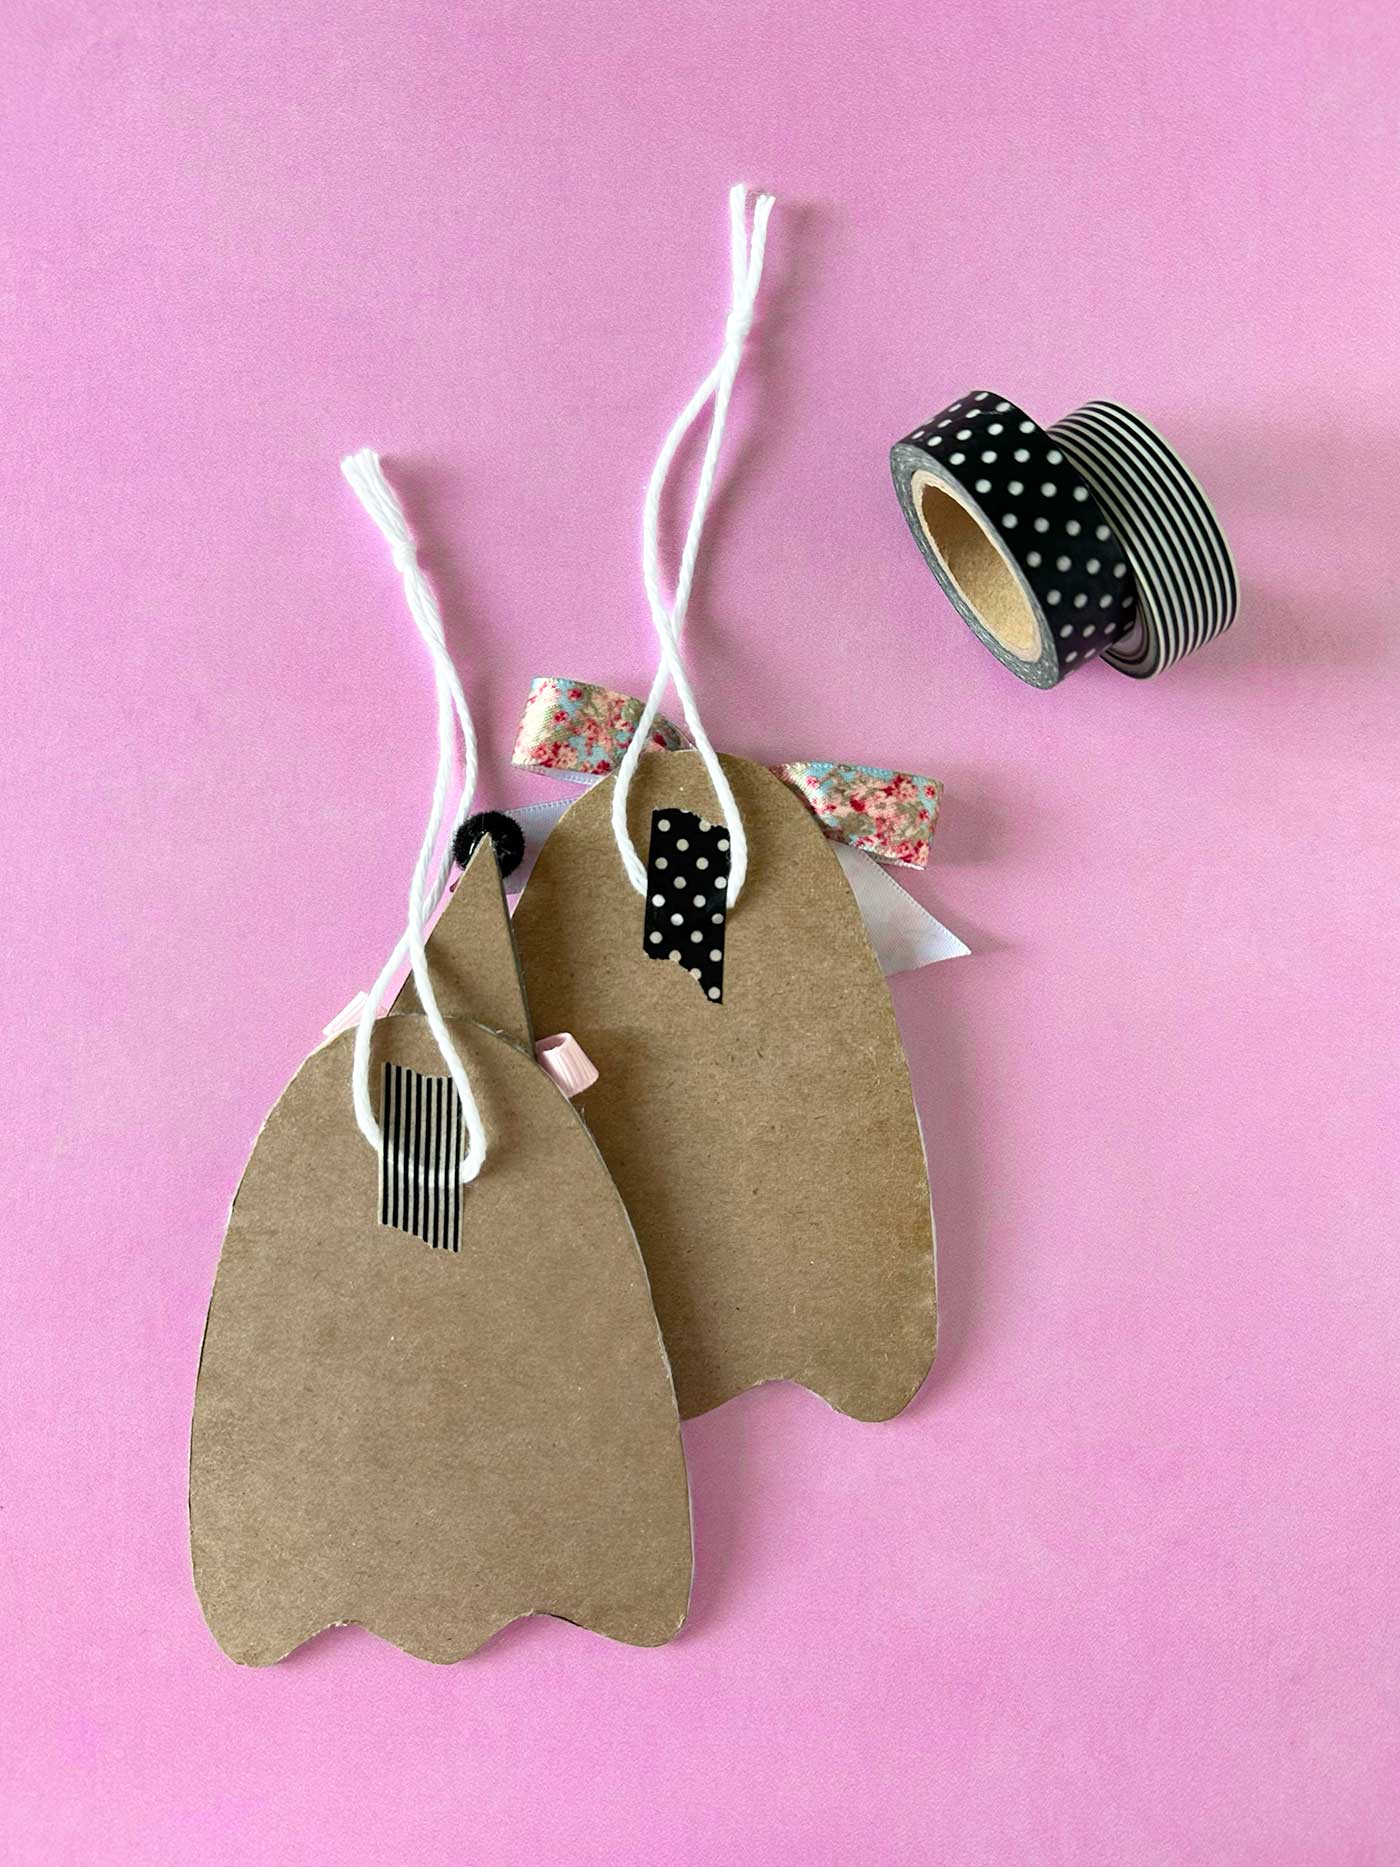
I actually like using waship tape because it gives me the option of removing the hanger later. That way, I can use the ghost on a flat surface or even turn it into a magnet if I want to change things up.
White string, black string, baker’s twine, ribbon—use whatever you have.
There are no hard-and-fast rules here.
Ways to Display Halloween Felt Ghosts
Once you start making these, I have a feeling it might be hard to stop at just one.
A group of cute felt ghosts would be adorable hanging together on a Halloween tree or displayed as a garland across a mantel.
You could also:
- Hang them from cabinet knobs
- Add them to a Halloween wreath
- Attach one to a gift bag
- Use them as party favors
- Turn them into magnets
- Display them on a bulletin board
- Add them to Halloween place settings
- Hang them from branches in a vase
They would even make sweet little handmade gifts for friends, coworkers, neighbors, or teachers.
Make These Felt Ghosts Your Own
That’s probably my favorite thing about this project.
You can take the basic idea and completely make it your own.
Change the ghost shape. Change the hats. Skip the glitter. Add more glitter. Use ribbon instead of string. Cover them in sequins. Give every ghost a name.
Have fun with it.
That mystery Pinterest photo may have been the inspiration, but these little felt ghosts quickly became their own project once I started playing around with the materials.
And now, thankfully, there’s finally a tutorial to go along with them. 😉





Leave a Reply